How To Plan Blog Content With Best Blog Content Planner
Blogging is not easy.
But on the other hand, it is not hard if you know how to plan your blog content the right way.
In fact, a blog content planner is one of the major tools that every blogger should include in their blog launch checklist.
Planning is a necessary part of success in any field. But there are some steps that you need to fulfill to achieve what you truly want.
In this ultimate guide, you will learn how to plan blog content the better way & how a blog content planner can make your blogging easier step-by-step.
Without wasting time, let’s begin.
7 Steps In Planning A Perfect Blog Content
Step 1: Define your blog’s purpose
Planning Is useless without a purpose.
To craft the best possible blog post content, you need to define your blog’s purpose.
There may be more than one purpose which is fine. However, there must be a major one.
Some of the main purposes to start a blog are:
- To gain fame & followers.
- To earn money (a lot).
- As a hobby.
- To promote your business.
- To be happy & satisfied.
In fact, there are many reasons to start a blog. Almost everyone wants to earn some income from their blog.
Whatever may be your purpose, you should be crystal clear about it. It will make your content planning process a lot easier. After identifying your “why” factor, you can head to the clear road without any speed breakers.
Step 2: Understand your target audience
After solving your blog’s purpose, you need to dig deeper into analyzing your targeted audience.
Not everyone will read your blog at any cost.
People who will be interested in what you write will be your targeted audience.
Therefore, you need to keep the same audience in mind while preparing the blog content plan. In my previous articles, I have often discussed finding your targeted audience.
One of them is Branding Your Blog. It will help you find out your relevant audience at ease.
However, the best way to understand your targeted audience is through Google Analytics & Search Console. Once your blog starts receiving some traction, you will be able to track things like your audience demographics, age, gender, platforms, etc. through both of them.
Besides this, the sure-fire way is to A/B test on your own. Analytics can give you a contrast in your ideas to perform more efficiently.
Understanding & writing for a particular audience creates a great impact. You will know what your readers like & expect from you.
It can also help in improving your blog post writing speed as you will have a clear picture of your readers.
Also, if you want to know your blog monetization method, you need a targeted reader. Be it affiliate marketing, advertisements, or even the sponsored posts, you need a targeted audience who can help you make money from either.
Step 3: Brainstorm blog content ideas
Now, you need to brainstorm ideas for some topics that you can write about.
Here, you do not need to do keyword research. Keyword research will be done afterward.
In brainstorming, the best thing is to prepare a mind map of all the posts that you are going to write, their category & their interlinkability.
One of the best & free mind map tools is Mind Meister. They allow us to make free mind maps upon a certain limit but it’s okay for a beginner.
The best thing about them is that they keep saving your work every second like Google Docs. Also, they will create a separate share link to share your mind map with anyone in this world.
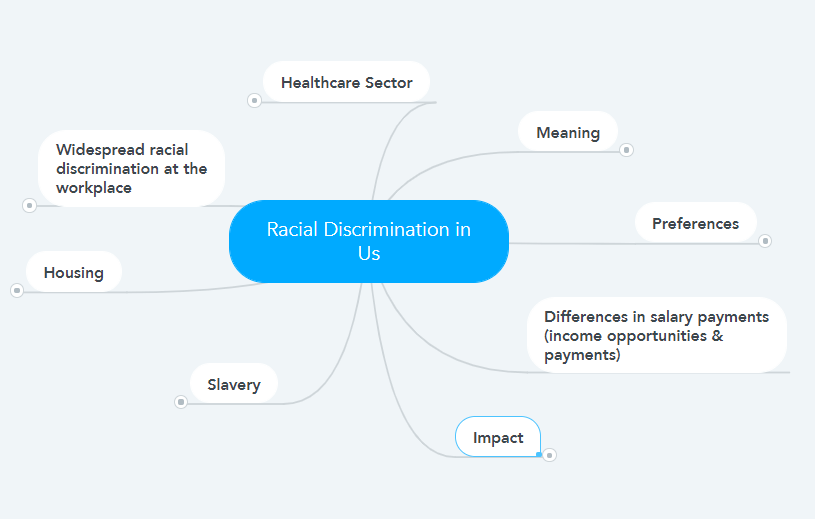
Through brainstorming, you will get clarity about writing content & will help you save your time when you start researching for a certain topic.
With that out of the way, let’s move to keyword research.
Step 4: Keyword research for multiple posts
This is a big one.
Understanding the audience is important.
Brainstorming ideas is also important.
But Keyword Research is super important.
When done correctly, it can bring a huge chunk of passive visitors every day & if done the wrong way, it will gather dust for your site at the corners.
Therefore, you need to know the right way.
First of all, head over to any keyword research tool that you prefer. I will go with KWFinder.
Enter any topic idea or keyword that you just noted down while brainstorming content ideas. For example, I will go with the keyword Best Christmas Gifts.
When I put it on KWFinder, I will get a detailed result of almost all the things that I need.
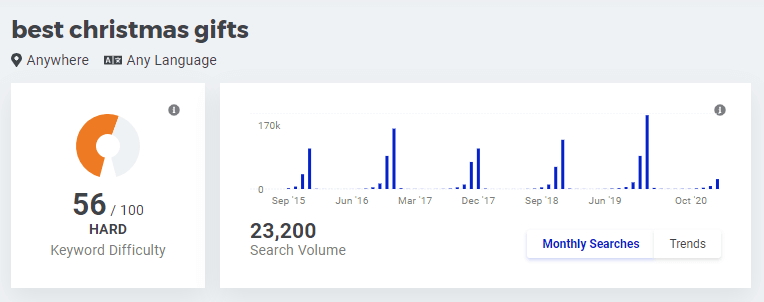
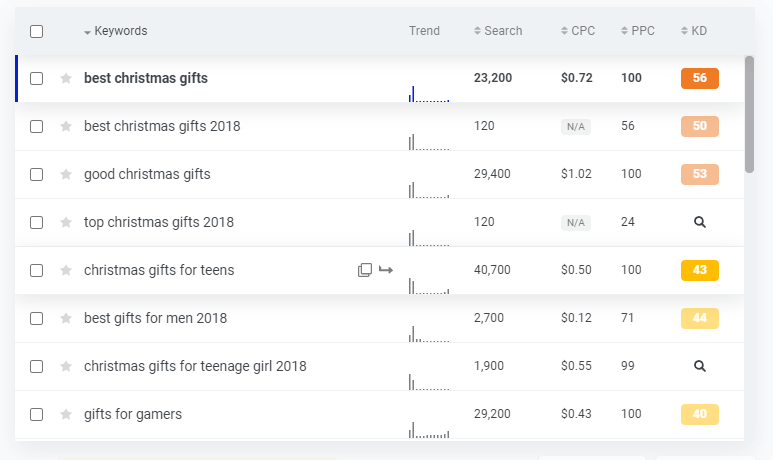
You can see things like Keyword Difficulty i.e. competition to rank, monthly visits on that keyword, and a load of other important details.
You will also see all the top posts ranking for these keywords & other similar keywords for which they also rank.
Pro Tip: Always target multiple keywords. Don’t run only after the focus keyword. Targeting multiple keywords will help your single post rank on many different keywords.
After researching the keyword, you will get a fair idea of whether you should write on it or not. If you choose to write for the same, head over to Google & search for the similar keyword that you chose.
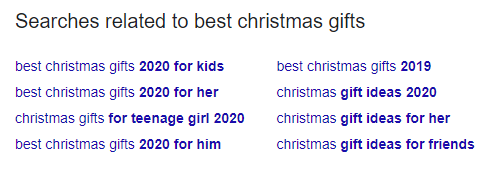
I chose Best Christmas Gifts Therefore I will search the same. Now scroll down till the end.
You will see some related keywords to your keywords. These are LSI (Latent Semantic Indexing Keywords). Google wants bloggers like you and me to cover these keywords too while writing on a certain topic.
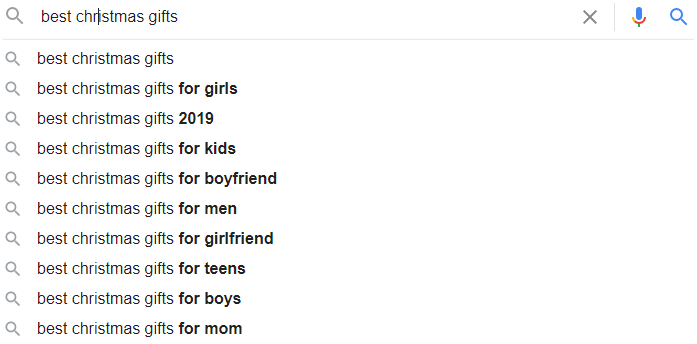
Another easy & beginner-friendly method to find out more relevant keywords is through Google Auto search. Search for your keyword and hit SPACE instead of the ENTER key. Again, you will see a bunch of them.
Another Pro Tip: I showed you to research for a single topic but I recommend you to brainstorm & keyword research for multiple blog posts to save your time. It will create a difference.
Now, you should have a list of keyword ideas, keyword competition & details of the site ranking for it. Start reading all the top posts to get a glimpse of their taste.
After reading the articles, you can jump to the next step.
Step 5: Chop off unnecessary distractions
As noting important ideas is vital, cutting off unnecessary ideas is also critical.
What kind of distractions to remove?
While you researched your focus keyword, you might have become a victim of information overload. It means that you should remove all the keywords that are irrelevant or don’t make sense to you.
In my case, all the LSI keywords are closely connected. So I will not want to remove them. But you can do so if yours doesn’t match.
This is how you will make the process look clean. You don’t want to close your eyes after seeing a messy keyword list.
Therefore, removing distractions is significant. You can thank me later for it.
Step 6: Place essential ideas into a content planner
Now is the time for which you are reading this article. Let’s put all the details into a single content planner.
I use Trello to manage all of my blog content ideas. I would suggest you use the same.
Reason?
Because it is simply amazing, beginner-friendly, handy & of course free.
Though they have premium plans for business class & enterprise the free version does all the jobs that a blogger needs.

Their free version includes:
- Unlimited cards
- Unlimited lists
- 10 boards per team (which is enough)
- 10 MB / file attachment
- 1 power-up/board
- 2 Factor-Authentication
- And a lot more.
Don’t fret when you first start to use it. Even I was frightened to see so many features at the beginning. But once you start using it daily, you will become obsessed with it.
In fact, I not only use Trello as a blog content planner but also as a swipe file, finances, to-do list & grocery list. They are also available with a free mobile application for remote usages.
Intro out of the way & let’s learn to decorate our details to make a perfect blog post content planning.
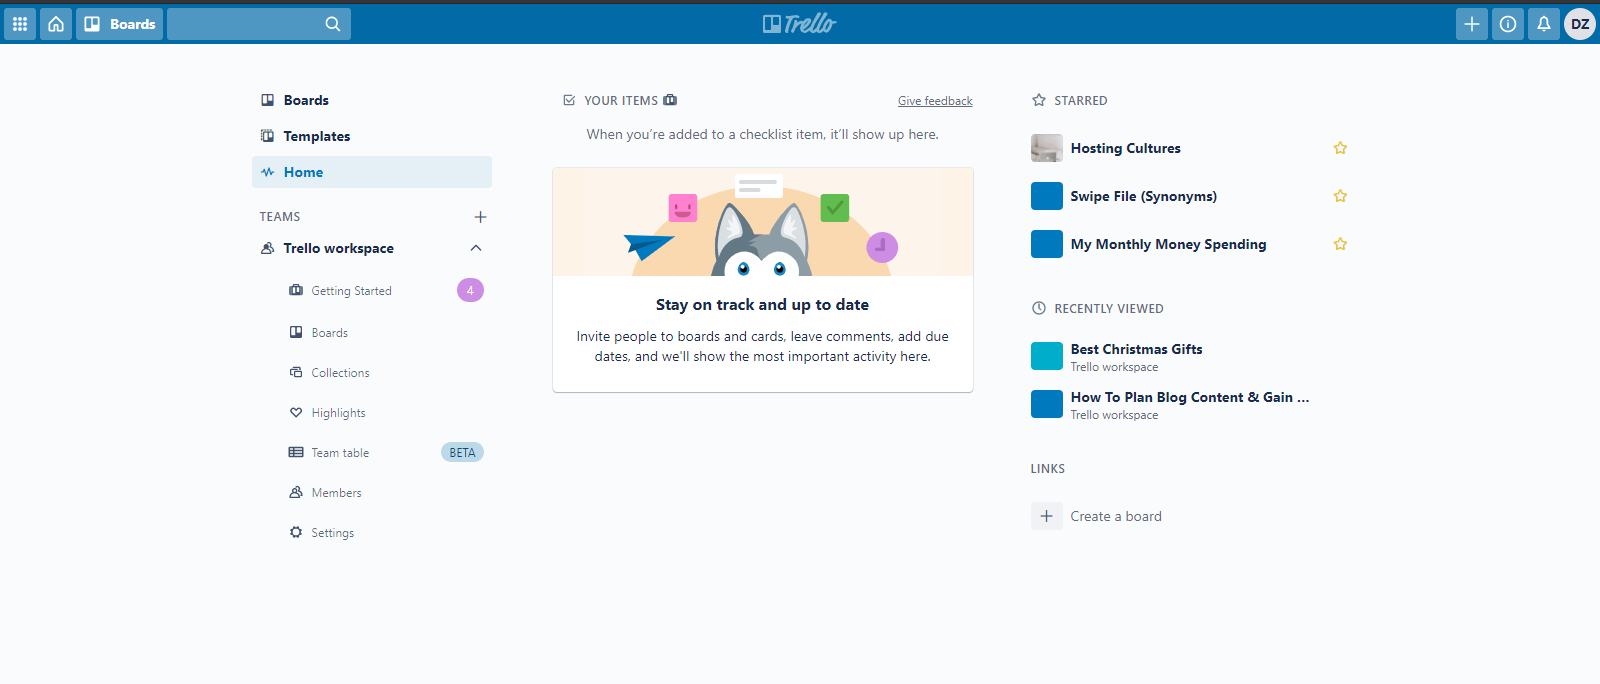
First of all, sign up & login to Trello and you will land on this dashboard:
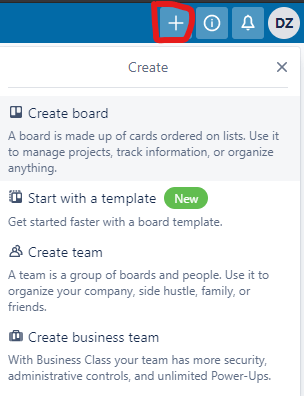
Click on the “+” icon located at the top right corner & click on Create Board to create a brand new board.
Name that board & press enter.
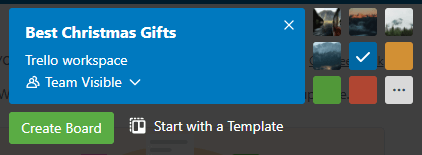
You will see an empty list. This is where you need to put in titles. You can take inspiration from my style.
Here is the detailed breakdown of how I create a list:
1. Important Keywords: Here, all the important keywords that you found out from the keyword research tool as well as Google auto search keywords will come.
2. LSI Keywords: In this list, you can write all the LSI keywords that we just found out at the end of the page on Google.
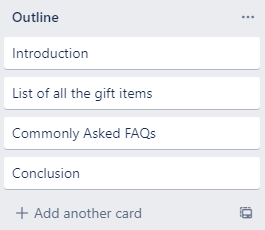
3. Outline: Here, you will place the original content structure. This can be changed anytime while writing or proofreading. To form a better content sequence, you can read as many top-performing posts.
Example
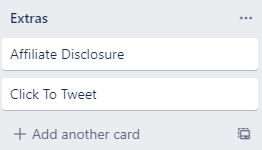
4. Extras: Extra is a list where you can insert all the extra things that you would not want to omit while writing. It can be anything like an Affiliate disclosure or a reference to another website.
Example
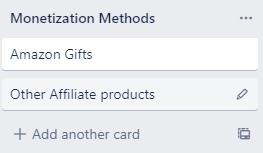
5. Monetization Methods: As the name suggests, you can choose what you can promote in this article. For example: In my case of writing on Best Christmas Gifts, I will largely promote affiliate products & gifts from Amazon.
You can choose according to the user’s intent.
Example
6. Linkable Posts: Lastly, we have a list for inter-linking previous posts. If you are blogging for a while, you might know the importance & effect of properly linking internal posts.
In short, they help in improving google traffic & reducing bounce rate as well as dwell time.
These were the example of the list structure that I regularly use for all my articles. You can either use the same or make your own.
The main thing is that you should understand your content planning. Blog content planning is not very hard.
You just need to follow these steps consistently.
Keep exploring Trello and you will find out that you can do much more things with it like:
- Checklist
- Media File embedding
- Assigning & Tagging team members (if working with a team)
- And much more.
Step 7: Measure & Compare The Results
I hopefully assume that you have learned to prepare a blog post content outline with the help of a blog content planner step-by-step.
Last but not least is to keep measuring the results & comparing them through the previous results.
If you start preparing a blog content plan after reading this article, I make sure that your blogging productivity & blogging writing speed will improve.
At last, it’s all on you.
Now, let me walk you through some of the major merits of planning your blog content.
Benefits Of Planning Blog Content
1. Save an enormous amount of time
Be it buying a property, preparing finances, or creating a blog content plan, subtle planning can save you a good portion of time that you can put into better use.
Initially, your planning doesn’t have to be the perfect of all. Once you start doing it, you will eventually improve.
2. Stay away from FOMO
FOMO is a shortened form of ‘Fear Of Missing Out. It is a psychological fear of mind about any specific field about which you want to stay updated.
FOMO can be about memes, tech news, stock market news, or any other information that you are obsessed with.
Blog content planner does a great job in helping remember important information. Logically, our brain isn’t made up to store & remember things. It is made up to find solutions to the problems.
Therefore, a written plan is the best way to help your brain rest from the burden. Once you write it down, your mind frees itself.
3. Better Coordination
Whether you are pitching a mail to connect with other bloggers or creating a swipe file of synonyms to write your blog posts faster & better, a content planner finds its way out.
When you write your plan on a tool like Trello, you can look at it anytime & resonate accordingly.
While working as a team, you can easily coordinate by commenting on feedbacks or suggestions in the tool itself.
What Do You Say?
This was the ultimate guide on planning blog content & how a blog content planner can make your blogging life easier.
Though blogging has its pros & cons, the pros can easily outperform the cons if you have a certain plan for your blog.
This was all from me.
Now, I would like to hear from you.
Were you planning your blog content or are you willing to start it from today itself?
Also, do you have any unique strategy to plan your blog content?
Either way, let me know by leaving a comment below right now.
Now go and make some solid blog plan.




Really, the user interface of Mind Meister is awesome and it is a very good productivity tool…👍
Yeah, Mind Meister is one of my favorite mind map tools due to its simplicity.